
Last Thursday I told you why Ravelry is awesome, and I promised you some tutorials on how to make the most of this website of awesomeness. This weeks tutorial is 'How to Stash Your Yarn on Ravelry'. I know that most of you will already know how to do this, but for those who are new to the website, or those who need some encouragement on getting organised, here is how to create your very own online stash (remember, to make a picture bigger on this tutorial, just click on it!).
You will Need:


You will Need:
- A Ravelry Account (if you don't have one, you can create one here)
- Yarn to Stash
Here we go.
Step 1:
Log onto Ravelry, and head on over to your stash:
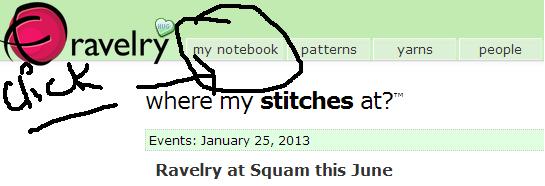
then

you'll then find yourself here

Step 2:
Click add new yarn

Step 3:
Fill in as much information as you can
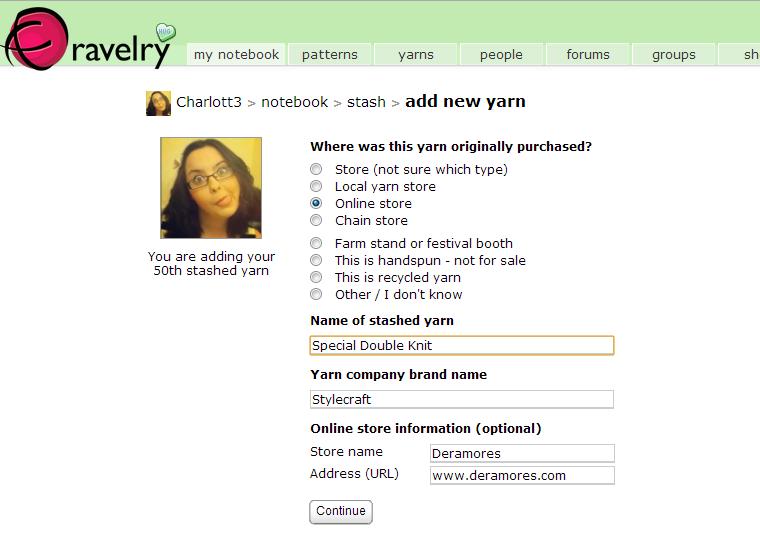
Step 4:
Choose the correct yarn

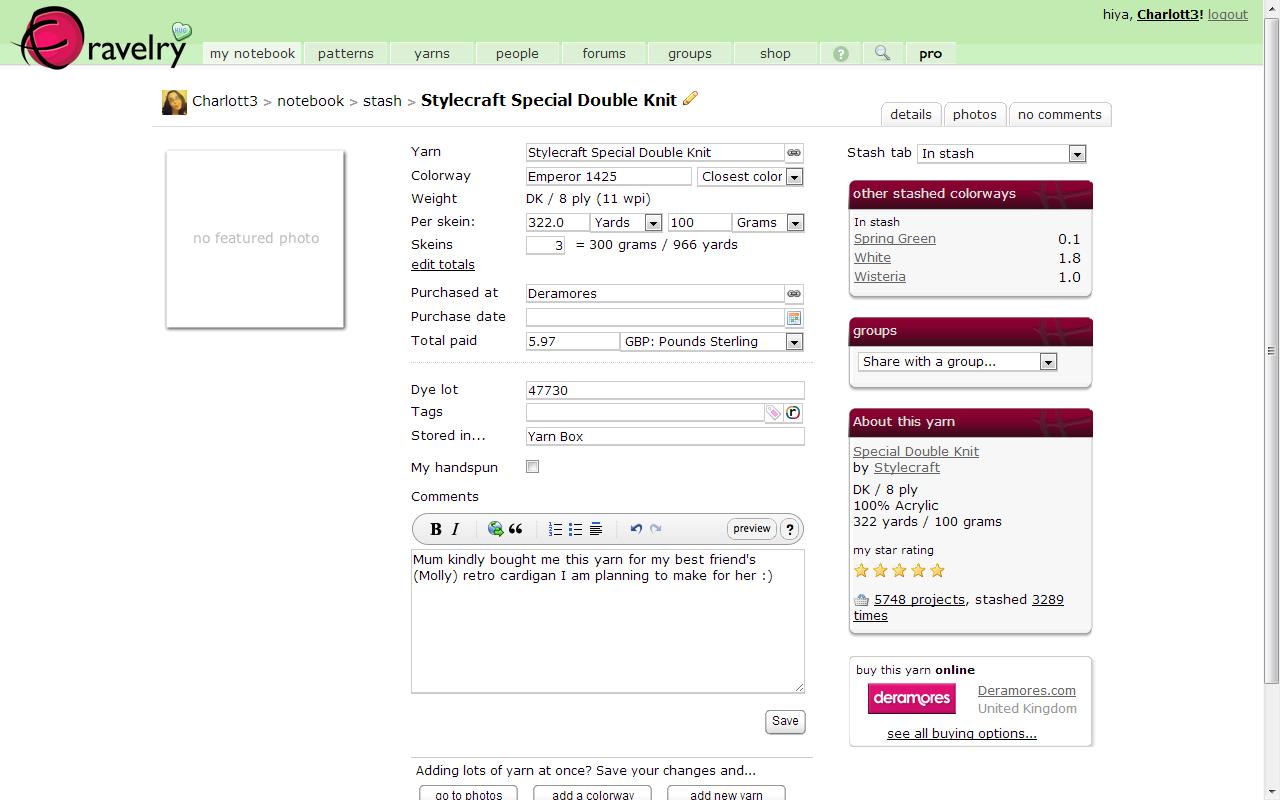
Step 5:
Fill in as much information as you can!
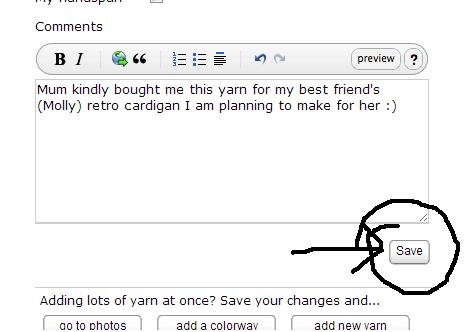
Step 6:
Click save
Step 7:
Click photos

Step 8:
Add your your photos!

=

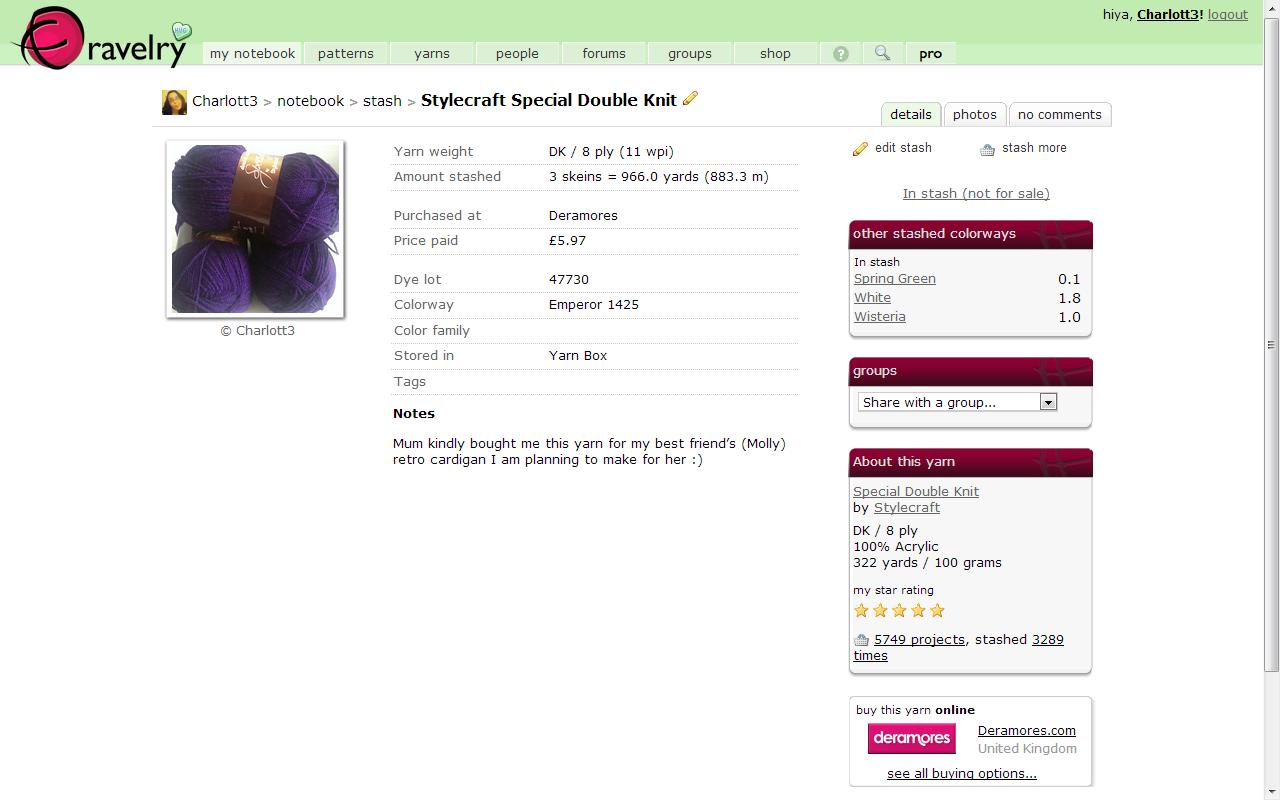
You should then end up with something like this...
Well done! In future weeks I will show you how to use your online stash to the best advantage, such as finding patterns to use with your yarn. Next week, you'll be learning 'How to: 'Create a Ravelry Project Page', which goes hand in hand with this weeks tutorial :)


Your tutorial is really well explained ! Ravelry had a really great idea to launch stash !
ReplyDeleteooh very helpful :) I wondered what all the stash biz was about on rav!
ReplyDelete