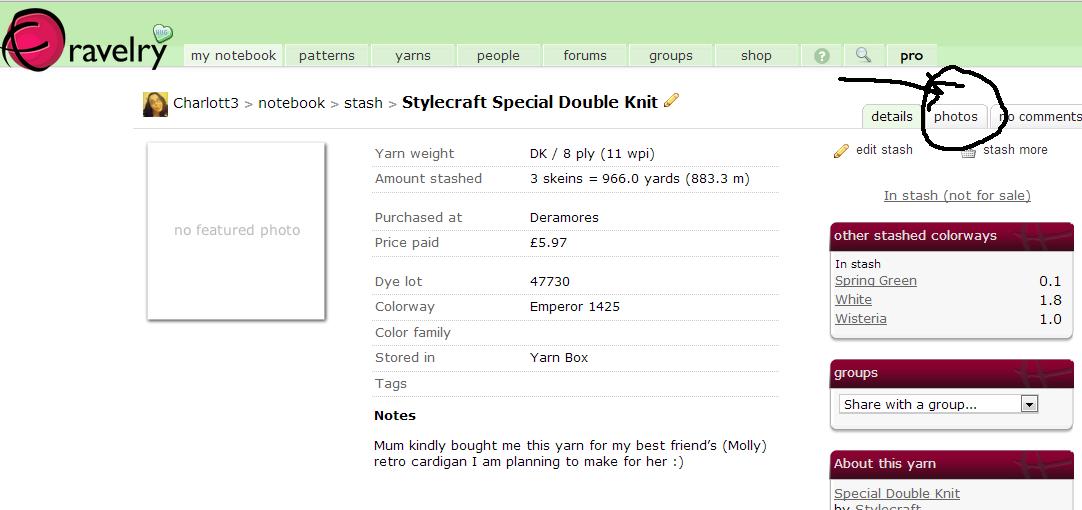
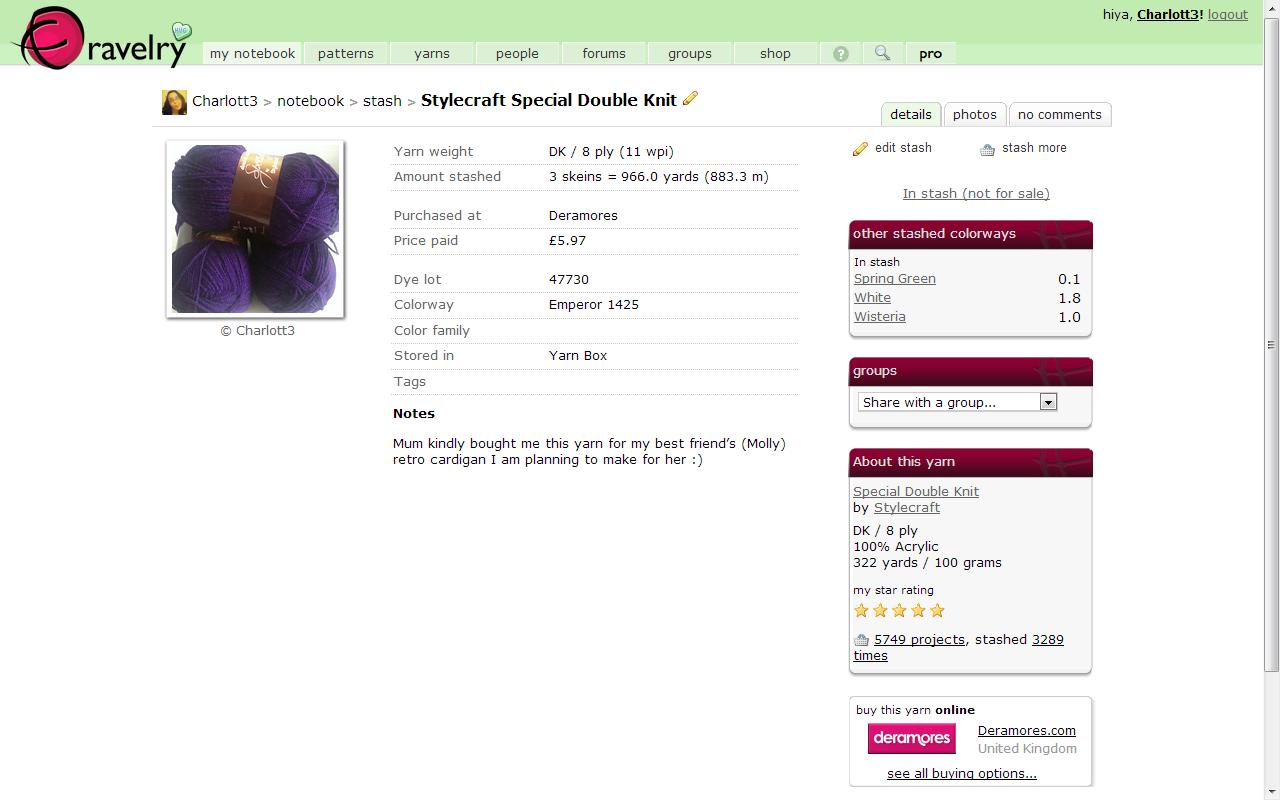
One of the features I use most on Ravelry is my Project Page, I think it is brilliant! If you put in the few minutes it takes to keep your project page updated, you really will be thankful in the long run! For example, you may make a few changes to a pattern you're working on, adding these changes on the note section of your project page will help you next time you, or someone else knits/crochets up this pattern (like this, for example). Here is my guide to creating a perfect ravelry project page!









You Will Need:
- A Ravelry Account (if you don't have one, you can create one here)
- A Project
- Stashed Yarn *(Optional)
- Photographs of your project (*Optional)
Let's Get Started! (don't forget, you can click each picture to make them larger!)
Step One:
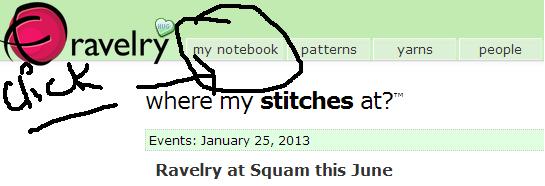
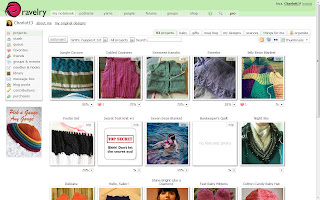
Log into your account, and click Notebook

You'll then find yourself at your Project Notebook

Step Two:
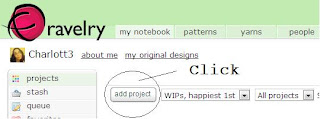
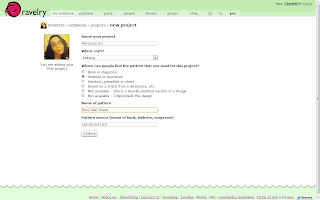
Click Add Project
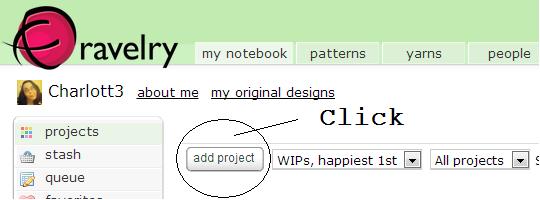
Step Four:
Fill in as much information as you can!
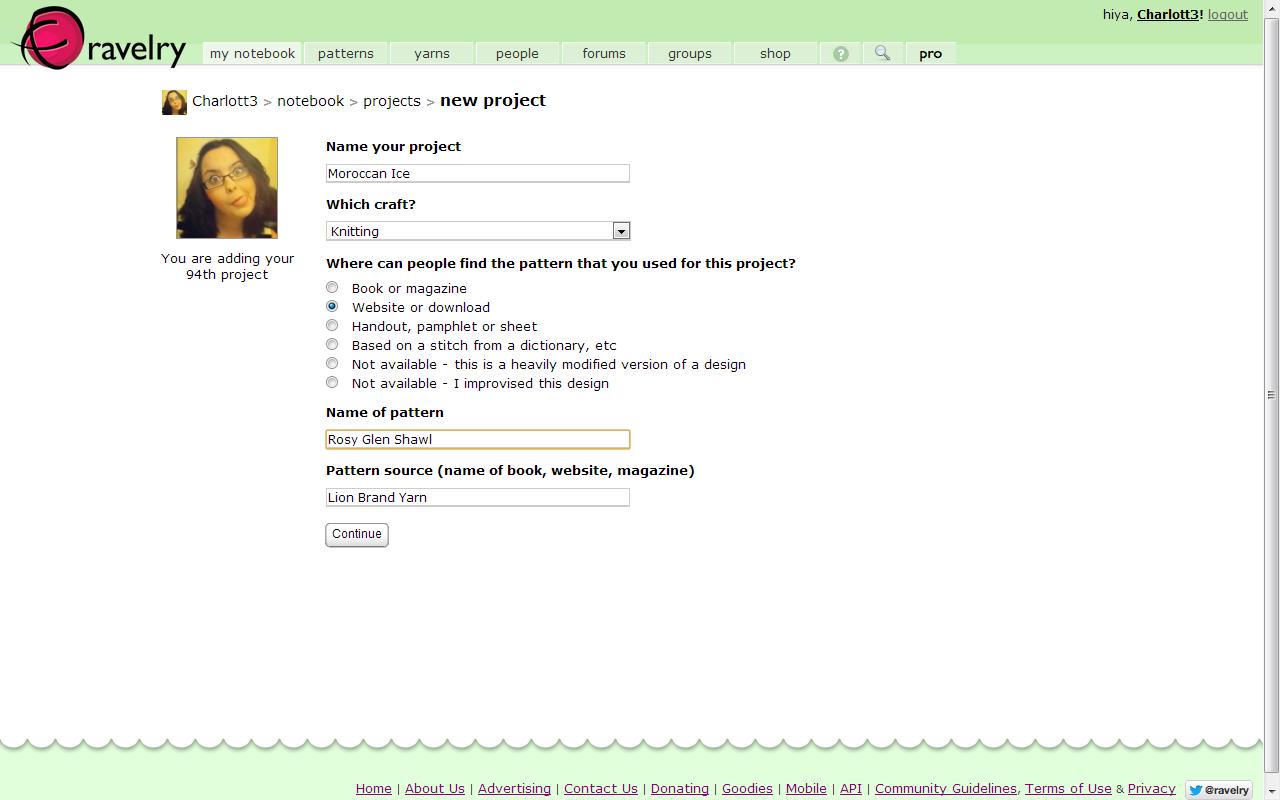
Then click Continue

Choose the correct pattern

Step Three:
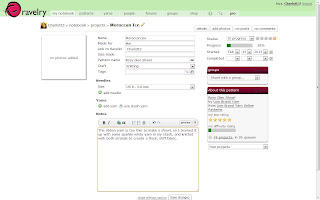
Fill in as much information as you can!

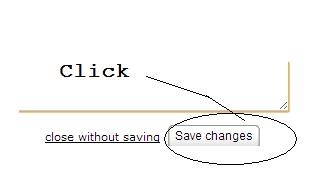
Click Save Changes
The following steps are all optional, but if you can, please follow them!
Add Your Yarn!
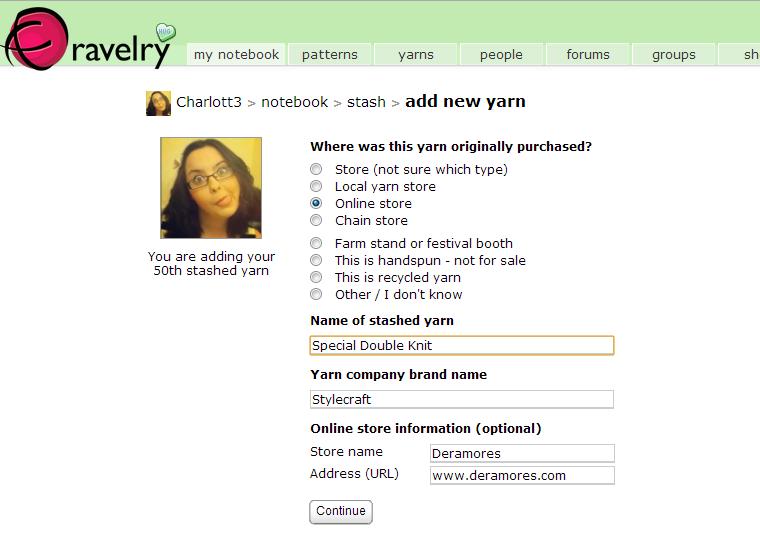
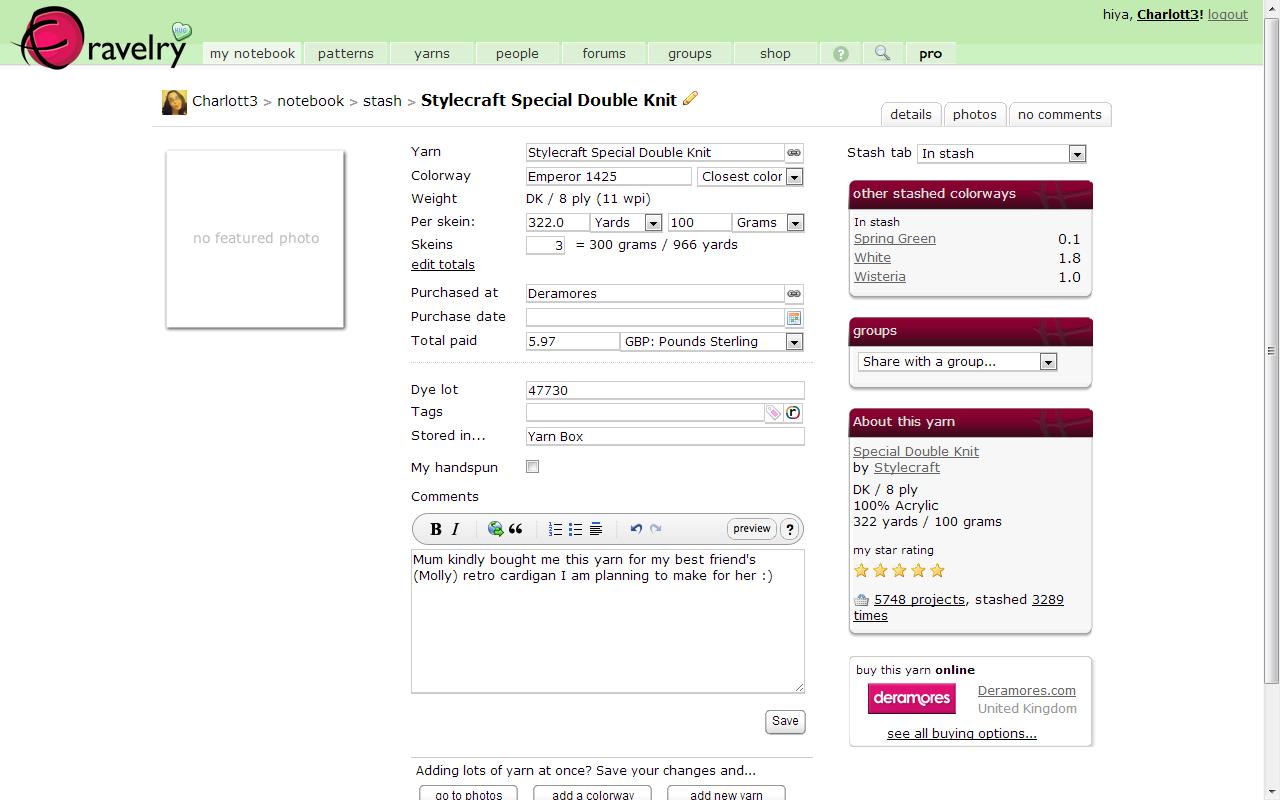
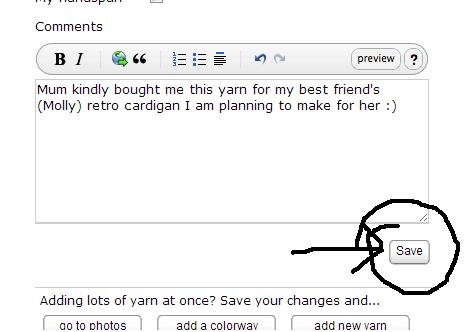
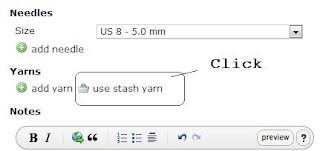
Option 1: Use stashed yarn, by: (click here for a tutorial on how to stash yarn on ravelry)
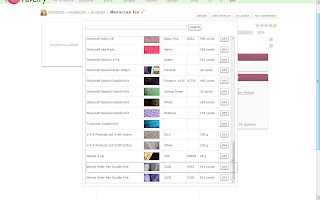
Click Add Stashed Yarn

Add your yarn from the stash, when you find the yarn you want, click Use

Repeat this as many times as needed

Then write down how much yarn you've used (if you can!)

then click Save Changes
Option 2:
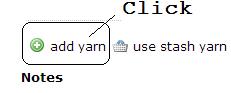
If you don't have your yarn stashed, don't worry! Just add it on the project page like so:
Click Add Yarn
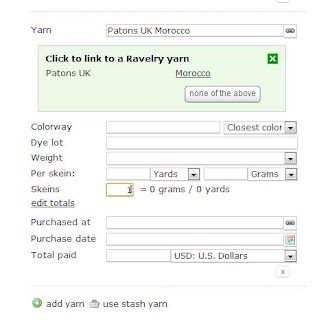
Fill in as much information as you can!

Click Save Changes
Add Your Photographs!
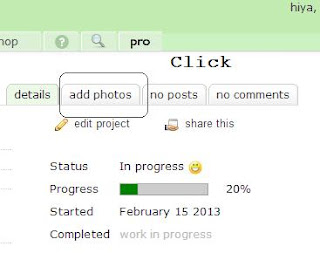
Click on Add Photos

Add your photos, in whichever way you want!

C O N G R A T U L A T I O N S
You have created an awesome project page on Ravelry!!

That is this weeks tutorial, next week we'll be learning How to: Use the Ravelry Pattern Search!